Monday, 22 August 2011

Pincushion Tutorial


Last week while on my hands and knees on the floor scooping up pins that were covered with dust and fluff I had a light-bulb moment! I'd seen them before, of course, but didn't fully appreciate they're usefulness. Sewists I admire were wearing them, but I wasn't sold...until I found a cockroach leg attached to the pin in my hand I had just retrieved from under the sewing machine! Enough losing these little buggers and scrambling around trying to find them. I needed a way to keep them safe. And so these pretty little wrist pincushions were born.

What you need to make them: 
  • A circle of fabric approximately 12cm in diameter (you can make them bigger if you want a little larger cushion)
  • A strip of (contrasting) fabric approx 26cm x 7cm (make them longer if you have very thick wrists!)
  • A strip of fusible interfacing a little smaller than your strip of fabric
  • Something to stuff your cushion with- I used foamy stuff (!), but you could use old tights, fabric scraps, etc
  • 2 strips of velcro (shlick schlack!) approx 4cm long
  • A needle and thread of similar colour
  • Scissors
  • A sewing machine (or not actually!)
What you do: 
(Please forgive the rubbish photography- I didn't realise until halfway through that my camera was on manual focus! They improve halfway through)
Begin with your circle of fabric- it doesn't need to be perfect as you can see!

Fold over the edge of the circle (about 1/2cm) and make a running stitch all the way round, catching in the folded edge and the main circle. (You don't have to have a dirty little left over piece of nail polish on your thumb to do this- it doesn't really help!)

Pull your running stitch tight to create a gathered pouch.

Stuff with anything you can find- old tights, fabric scraps, bits of old t-shirts- I used cushion stuffing.
Pull your stitches tight, closing up hole as much as possible (don't worry if its not completely closed).

Take your strip of contrast fabric (excuse the terrible cutting!)


Iron your strip of interfacing onto the wrong side of the fabric strip.

Fold the strip in half, right sides together and pin.

Sew down open edge (the long side, leaving short ends open).

Turn inside out.

Tuck raw ends inside the tube of fabric and iron.

Sew the short ends closed.

Sew velcro strips onto one end of fabric in a square i.e. sew around velcro.

Sew other piece of velcro onto other end. Make sure you sew on opposite side.

Hand stitch your circle of stuffed fabric onto fabric strip, open part down. Try to get open part of cushion covered by strip.

Sew around in a circle using a small running stitch to secure the cushion onto the wrist band.

This is what the back should look like when you're done. The hole is covered by the wrist band and it is securely fastened.

Ta dah! A finished wrist pincushion.

And a whole lot of others to keep it company. Aren't they pretty?


These are great for using up any scraps you have in the house, those of you who have been to my place know that means a LOT! But mainly, I'm hoping less pins will find their way to my dusty floor, and I'll spend a lot less time on the ground sifting through dirt to retrieve them.
And just to show what a difference they make here are some projects that were completed using these bad boys: 


Even the little newcomer found a use for one of them- maybe he can sew after all! (I know I need to stop taking phoots of my cats but they are soooo bloody cute!)
Classes this week:
Tuesday and Thursday 6-8.30pm: Skirt/PJ making-intermediate
Thursday 12pm: Skirt/PJ making -intermediate
Wednesday and Friday: Pattern reading


Sunday, 14 August 2011

What's new pussycat?


A busy period here at Old Fashioned Headquarters: lots of classes, lots of sewing and some other exciting projects which will be revealed soon. But first a little show and tell of some of the beauties that were created by a lot of talented students.


Don was hard at work to cut pattern and finally produce a woollen (!) cardigan...unfortunately not to be worn for a few months yet, only to be taken out of the wardrobe and admired!


  From vintage pattern to confusing pieces to finished dress in just a few hours. No wonder Gabriella looks so happy- I want one too.


Lucy modeled her bright yellow dress on the summery balcony. Looks good eh? After way too many (!) alterations to the bodice we finally got it straight


Claudia burnt the midnight oil finishing off this elegant little number - very Audrey Hepburn I thought.


While Claire finished off this lovely summer dress with yellow bias binding for a professional finish- which unfortunately my rubbish photography skills do not demonstrate! Bear with me, I will get better, its a new camera.
And even after all the hours of hard work unpicking, re sewing, some people were still a little shy about showing off their finished creations- even though they looked great!


The Beginners produced the usual brilliance of the first bag.


And finally, this little guy turned up on the doorstep and wouldnt leave. Welcome to the Old Fashioned family little Pussycat- its still to be determined whether he can sew or not!

Classes are a little unsorted this week as we're still waiting on the London visa so may not be around for a while. If I'm still here, I'll email class times or email me.


Monday, 18 July 2011

The famous foccaccia...

This week as well as having some talented students making some sweet summer bags, including my first class for children, I've cracked out the famous focaccia bread again!
Firstly take a look at the beauties that the kids made in record time:
Don't they look pretty blowing in the breeze on the washing line?       


And, of course, the adults later in the week didn't do too badly with an array of brightly coloured bags and matching accessories:


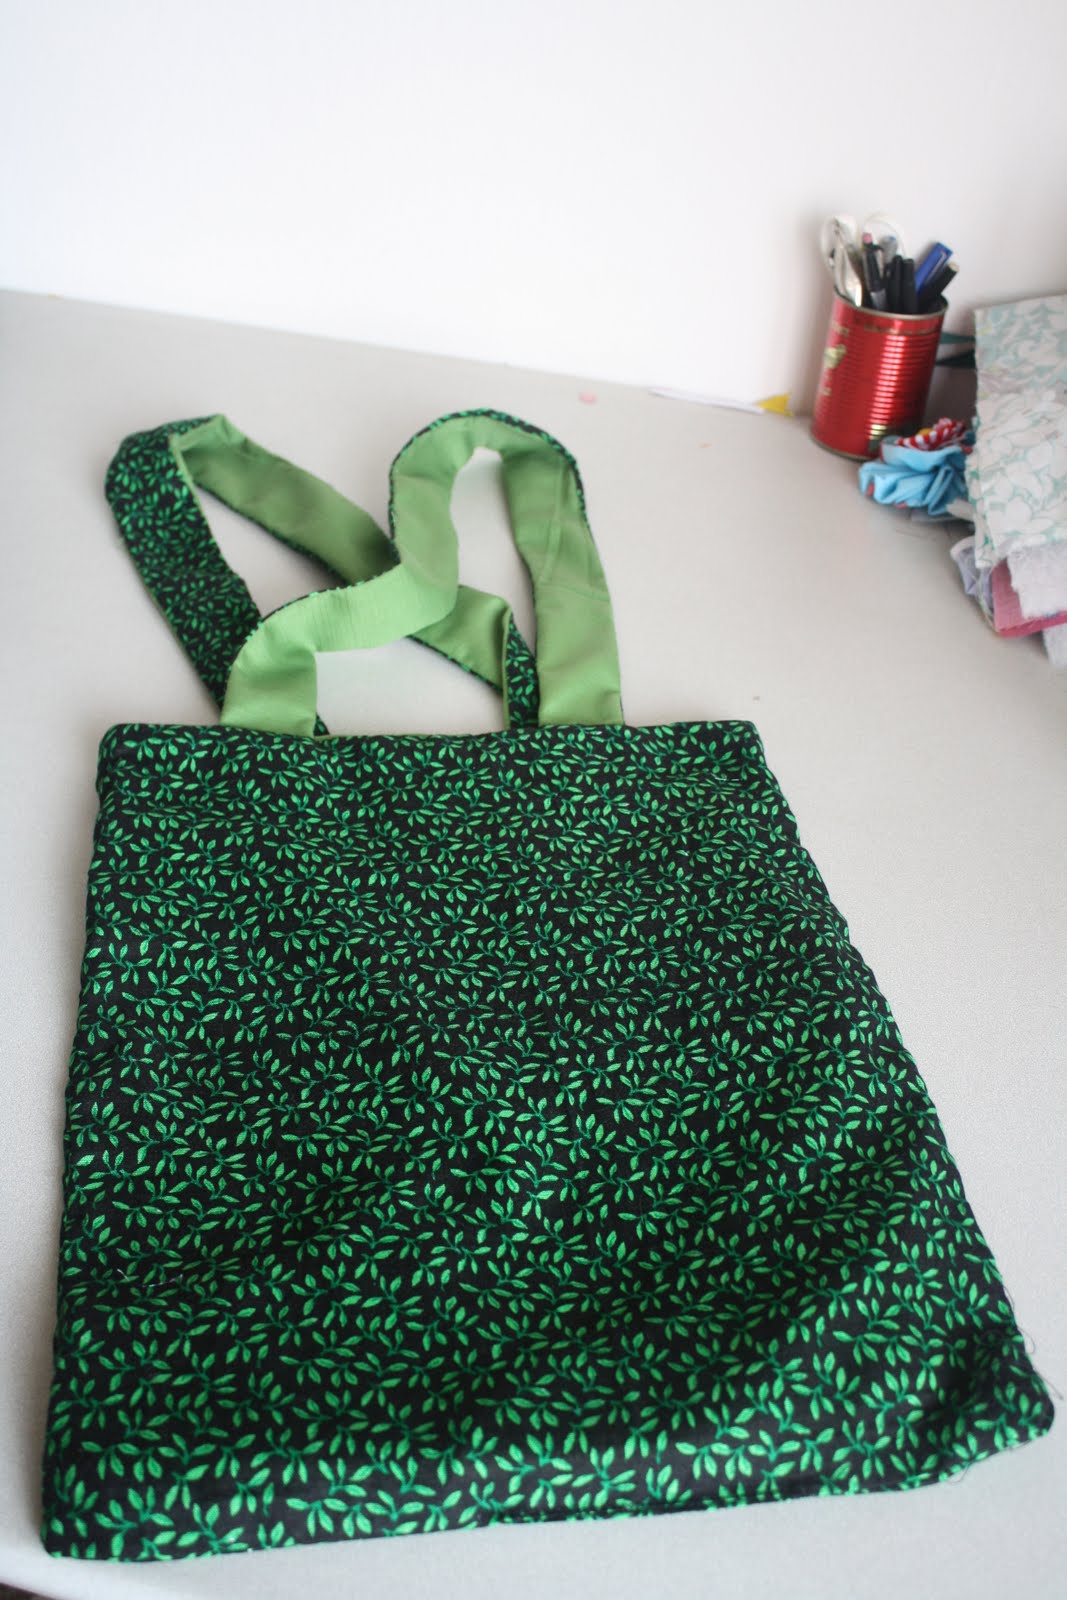
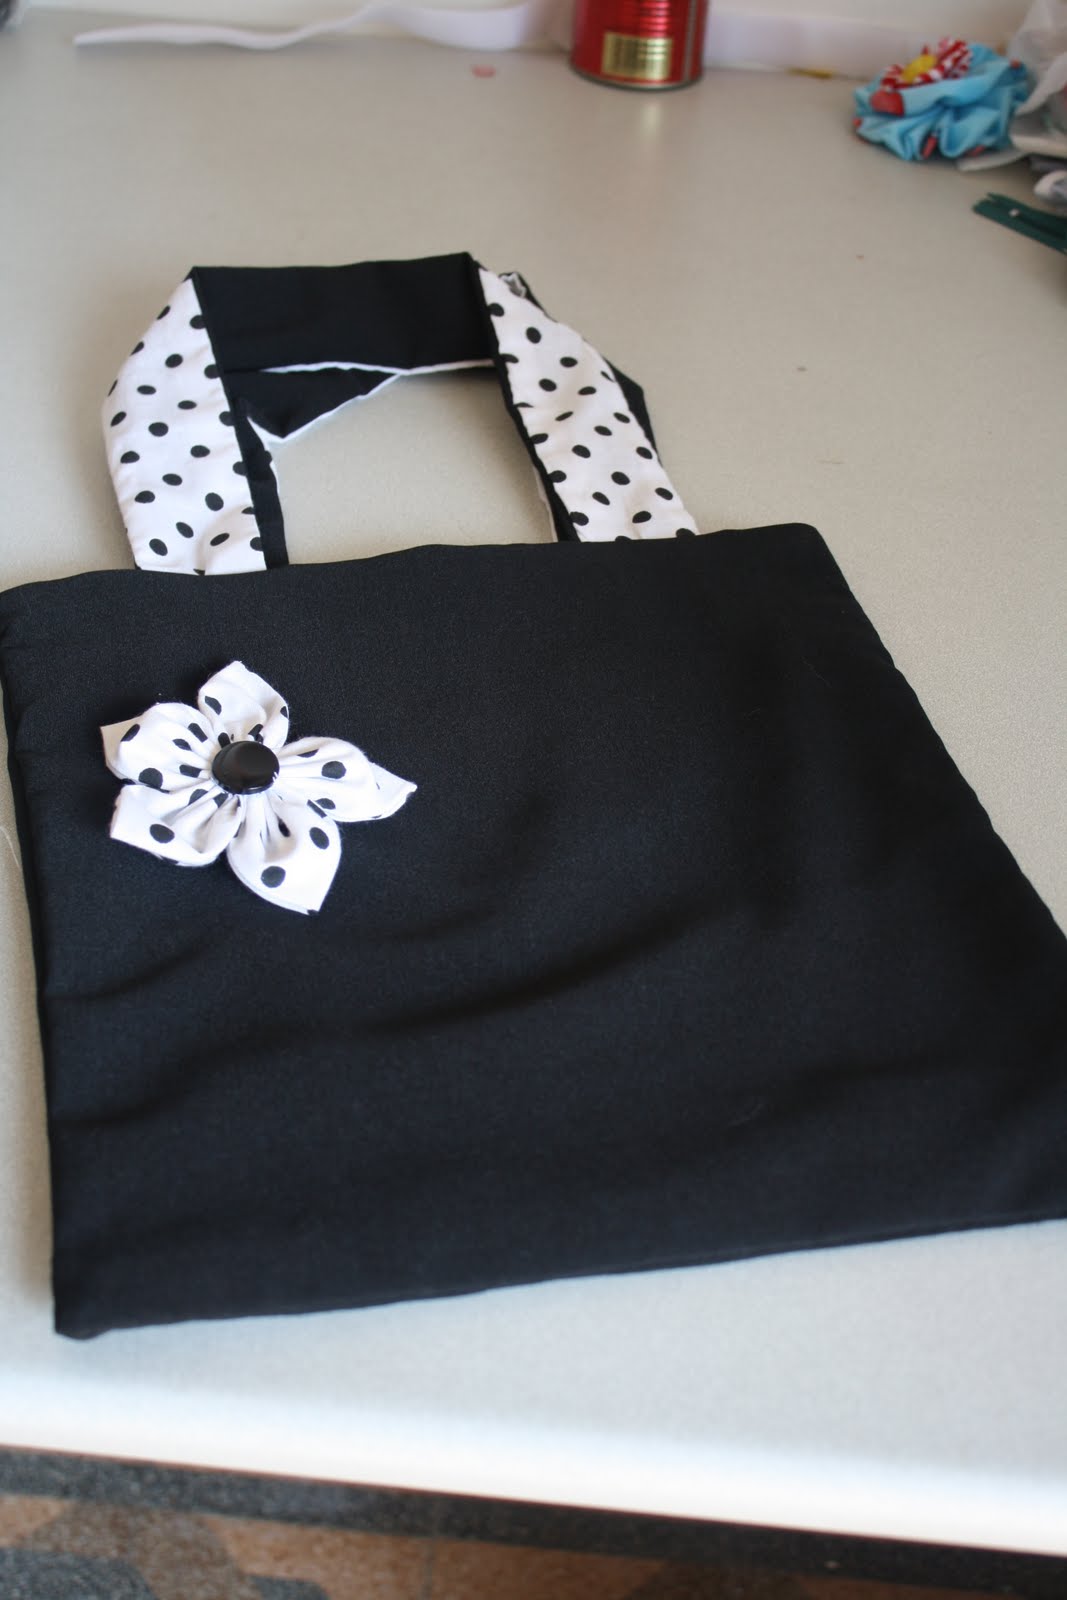
 Sometimes I think the students are more excited about making fabric flowers and hair clips than the actual bags. To be honest I dont blame them, when you see how easy it is you want to make a different one to match every outfit in your wardrobe. I already have done! And the little girls were well on their way...the studio was a riot of bows, flowers, stars and all sorts. 

And so to the focaccia...
This badboy has been stacking up the compliments since I first made it so I though due to public demand I would share the recipe. Like the flowers, its ridiculously easy and although it wont go with your outfits, it will make your dinner/lunch table a prettier place!
You need: 
450gr white flour
275ml warm water
25ml olive oil plus extra for sprinkling
1 teaspoon dried yeast
1 teaspoon salt plus extra for sprinkling
Rosemary (i used fresh from the garden, but i guess dried would work too but not as yummy)
What you do: 
Mix the flour, salt and yeast together and make a hole in the centre. Pour the water and olive oil (mixed) into the hole slowly, mixing as you go. Mix all together and then turn onto work surface and knead until soft and elastic. Kneading until you get right consistency takes a little bit of practice. The dough should be springy and soft and smell like bread.
Put the dough back into the bowl and cover with a plastic bag. Leave it somewhere warm until it rises, for about an hour. Then transfer it to a greased baking tray/tin and flatten it down until it is about 2cm high. The dough should be airy and when you do this some of the air should come out. Press your thumbs into the dough to make small indentations in it. Leave it here under the plastic bag again for another 45mins (I put the oven on low and leave it on top so it is nice and warm).
Brush with a little olive oil and bake in oven (235c) for ten minutes. Remove from oven and mix about a tablespoon or more olive oil with water and salt and then brush generously over almost cooked loaf. Bake for another 5 minutes or until bottom is golden and bread is soft inside and crispy on outside. 
Sprinkle rosemary over the top and serve when warm. 
Another idea is to fry onions until they are really soft and then add them at the end instead of olive oil. Yummy!  

Classes this week (18th July):
Absolute Beginner: Monday and Wednesay 6-8.30pm
Bag making: Tuesday and Thursday 6-9.30pm
Absolute Beginner: Sunday 12-5pm


Friday, 8 July 2011

A little round-up


Exciting week this week what with appearing in the national (Lebanese) news! If you didnt already read it avidly and tell all your friends, here is the link
Other than that, dressmaking has gone crazy, with me knocking up two for myself this week and students creating some beautiful and advanced outfitsover the past few weeks...and not just dresses... shirts, skirts, pjs...all sorts.
So if you want some inspiration or just a sneak peak into The Sanayeh sewing Headquarters have a look at these pictures and then email me and say "Layla, please teach me how to sew!"
A third lesson dress that is getting a lot of compliments!  
Sassy little skirt from a homemade pattern.

A pair of pjs made to for cosiness or lounging by the beach in this weather. I would definitely wear these out!
A summery top with interesting asymmetrical detailing on the corner. Love the little tie straps on this beauty. 

And for all you beginners out there, dont be daunted or scared, you'll start small but it wont take long, I promise. You'll go from this  to that and more in no time.

Finally, if you havent already checked out this weeks dates do so and note that there is a Handbag/purse/manbag making class this Sunday. The last one was great fun and very tiring, hard work all round. So this time I'm splitting it into two sessions of three and a half hours. Come and learn how to put in pleats, inserted zippers, add hardware and metalware to bags and much more, all with the added bonus of homemade treats! Check out some of these students finished products to get your creative juices flowing:


 A pair of satchels - unisex bag making.

And finally...Two lovely oversized bags for overnight stays, baby stuff, or just lots of make-up and other stuff!


Thursday, 16 June 2011

Anyone want a custom made handbag?

If the answer to the above is yes (and to be honest, why wouldnt it be?) then come along on Saturday to the Sanayeh sewing headquarters and learn how to make your very own handbag to match perfectly with your summer wardrobe. We will be learning new techniques such as pleats, invisible zippers, tucks, all sorts of wonderful pocket ideas and more. Come with your own design in mind or have a look at the pictures below to get some inspiration.


And if you need any more convincing... I've just bought a whole load of new summer fabric!

Tuesday, 14 June 2011

Its been a while...

I have been awol for a while, and, unfortunately, though I wish it were so, not because I've been sewing up a whole new summer wardrobe. The world of sewing blogging has sucked me in! I have found so many wonderful sewing spaces in the world of cyberspace I just can't seem to get motivated on my own-blog jealousy has set in and made me inactive. I want to be all these brilliant people and have their brilliant blogs. Have a look here at some of the best:
This woman makes all her own clothes-her whole wardrobe! And not at the slow snail's pace I go at with all the other distractions, but one a day sometimes! WOW and so pretty. http://www.sewweekly.com/
Here's another clever lady who is vintage inspired and skilled at using it. Her sewing tips are great and her site has inspiration galore. http://www.blogforbettersewing.com/
Free pattern's? A month of free patterns over here on this blog. http://grosgrainfabulous.blogspot.com/
Oh and there is so much more...one day i may have 100's of followers (hint hint people....follow me if you're not and share me all over the place!)
Anyway, onto me. Sewing this week:
Absolute Beginners: Wednesday and Friday 6pm-9pm
Handbag making: Saturday 12-5pm

Follow this blog with bloglovin

Follow on Bloglovin

Other Posts You Might Like...

Blog Archive